


A Step-by-Step Guide to Residential Roof Installation
Discover a complete step-by-step guide to residential roof installation. Learn what to expect, how to choose materials, and why homeowners trust The Austin Roof.
Whether you're building a new home or replacing an old, worn-out roof, understanding the residential roof installation process can make a big difference. Its a major investment that protects your home, enhances curb appeal, and increases property value. But lets be honestit can also be intimidating if you dont know what to expect.
Thats why weve broken it all down for you. In this easy-to-follow guide, well walk you through every stage of roof installationfrom prep to final inspection. Whether youre planning the project yourself or working with trusted professionals like The Austin Roof, this blog will help you feel confident and informed every step of the way.
Why Roof Installation Matters
A roof does more than just cover your home. It shields your family and possessions from harsh weather, helps regulate indoor temperature, and provides structural support. A properly installed roof also:
-
Prevents leaks and water damage
-
Improves energy efficiency
-
Enhances home resale value
-
Reduces maintenance costs over time
Skipping steps or choosing the wrong contractor can lead to costly repairs later. Thats why working with a reliable roofing company like The Austin Roof can save you time, money, and stress.
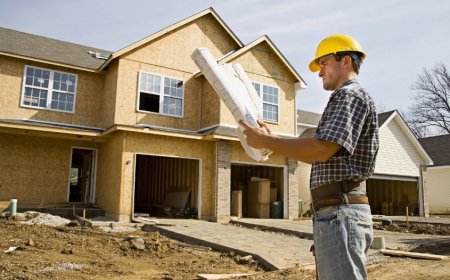
Step 1: Initial Roof Inspection and Assessment
Before installation even begins, a thorough roof inspection is crucial. This involves:
-
Measuring roof size and slope
-
Checking the structure for damage or weak spots
-
Identifying ventilation needs
-
Reviewing local building codes and HOA requirements
Your contractor will also help you decide between a full replacement or a roof overlay, depending on the condition of your existing roof. For new homes, theyll assess the framing and underlayment needs from the start.
Pro Tip:
Have a roofing expert like The Austin Roof perform a professional inspection. They can spot issues you may miss and provide honest recommendations.
Step 2: Choosing the Right Roofing Material
Your roofing material affects everything from installation cost to how long your roof will last. Here are some common options:
| Material | Lifespan | Pros | Cons |
|---|---|---|---|
| Asphalt Shingles | 1530 years | Affordable, easy to install, versatile | Susceptible to wind and heat damage |
| Metal Roofing | 4070 years | Durable, energy-efficient, recyclable | Higher upfront cost |
| Clay/Concrete Tile | 50+ years | Fire-resistant, long-lasting | Heavy, may require structural support |
| Slate Roofing | 75100 years | Elegant, extremely durable | Expensive, labor-intensive to install |
| Wood Shingles | 2530 years | Natural look, good insulation | Prone to rot, requires maintenance |
If you're unsure, The Austin Roof offers free consultations to help homeowners select the best material based on their budget, home design, and local climate.
Step 3: Preparing for Roof Installation
Before the crew shows up, a few steps need to be completed to ensure a smooth process:
-
Clear your driveway for vehicles and roofing materials.
-
Protect valuable items in your attic and cover anything that could be affected by dust or debris.
-
Let your neighbors knowroofing can be noisy, and a heads-up is appreciated!
-
Secure pets and children away from the work area.
Your contractor may also file for necessary permits. Companies like The Austin Roof usually handle this for you as part of their service.
Step 4: Removing the Old Roof (Tear-Off)
If youre replacing an existing roof, the old material needs to be removed. This is known as the tear-off process and includes:
-
Stripping away shingles, nails, and underlayment
-
Inspecting and repairing the decking beneath
-
Ensuring no mold, rot, or water damage is present
While this step can be messy, a reputable contractor will use tarps and bins to keep your property clean and safe.
Step 5: Roof Deck Preparation
Once the old materials are cleared, the decking (the base of your roof) is inspected and reinforced if needed. Heres what happens next:
-
Re-nailing or replacing plywood boards if theyre damaged
-
Adding drip edge flashing to direct water away from fascia
-
Laying down ice and water shields in vulnerable areas like valleys or edges
-
Installing roofing felt or synthetic underlayment as a moisture barrier
Proper decking preparation is critical to ensure your new roof performs well and lasts long.
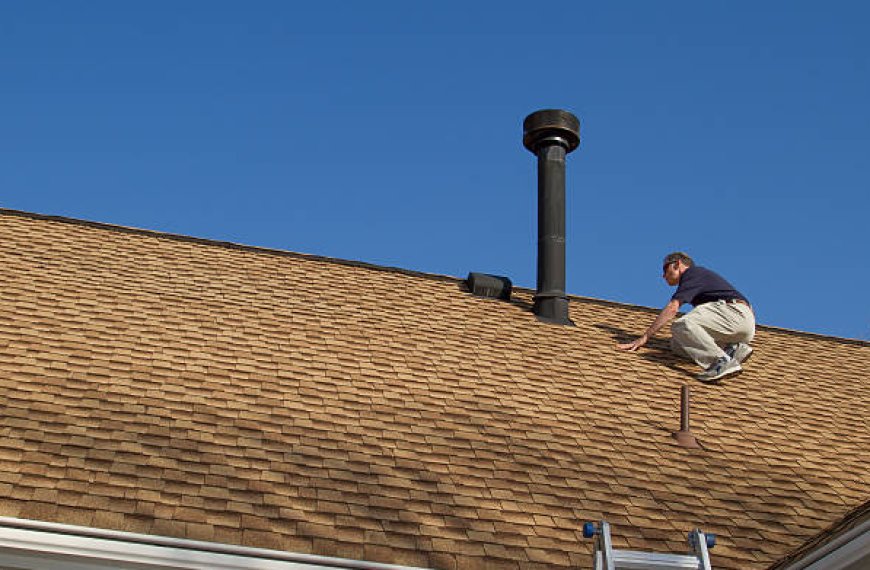
Step 6: Installation of the New Roof
This is where things start taking shape! The actual installation includes:
-
Starter shingles laid at roof edges to create a secure foundation
-
Main shingles or roofing panels installed in rows from the bottom up
-
Ridge vents, flashing, and pipe boots installed to protect seams and promote ventilation
-
Ridge cap shingles installed along roof peaks for a finished look
The crew works systematically to ensure every piece is placed and sealed properly. With a trusted company like The Austin Roof, quality and precision are part of the job.
Step 7: Final Cleanup and Inspection
Once the roof is installed, your contractor should perform a complete cleanup. This includes:
-
Removing leftover debris and nails using a magnetic sweeper
-
Inspecting gutters and yards for any hidden scraps
-
Final walkthrough with the homeowner to ensure satisfaction
-
Checking the installation meets local code and warranty requirements
The Austin Roof goes the extra mile to make sure your property is as clean as it was before the work startedif not cleaner!
Step 8: Warranty and Maintenance Guidelines
Your new roof comes with a warrantyboth from the manufacturer and your roofing company. This typically includes:
-
Material warranty (2050 years depending on the brand)
-
Workmanship warranty (510 years, depending on the contractor)
Make sure to get everything in writing and understand what voids the warranty (like improper maintenance or DIY repairs).
To keep your roof in peak condition:
-
Clean gutters regularly
-
Trim back trees and debris
-
Schedule annual roof inspections
-
Address small issues before they become big problems
Why Homeowners Trust The Austin Roof
Choosing the right contractor is just as important as choosing the right material. Homeowners throughout Texas trust The Austin Roof because of:
-
Transparent pricing and detailed quotes
-
Certified, insured, and experienced crews
-
High-quality materials backed by industry-leading warranties
-
Fast, clean, and respectful service
Whether its a full roof replacement, minor repair, or new construction, The Austin Roof treats every home like their own.
Conclusion
Residential roof installation is a multi-step process, but when done correctly, it offers decades of comfort, protection, and peace of mind. By understanding each stagefrom inspection and material selection to installation and warrantyyou can make informed decisions and ensure the project goes smoothly.
Working with a reliable partner like The Austin Roof can make all the difference. Theyll handle everything from permits and tear-off to cleanup and final inspection, leaving you with a beautiful roof you can rely on for years to come.
FAQs
1. How long does it take to install a new residential roof?
The timeline depends on the size of your home and the roofing material, but most residential roof installations take 13 days. Larger or more complex roofs may take up to a week. Companies like The Austin Roof provide detailed timelines before starting.
2. How much does a new roof cost?
Costs vary widely depending on materials, roof size, slope, and labor. On average, you can expect to pay between $5,000 to $15,000. Contact The Austin Roof for a free quote based on your unique needs.
3. Do I need to leave my home during roof installation?
Not necessarily. You can usually stay at home, though the noise can be disruptive. If you work from home or have young children or pets, you may prefer to stay elsewhere for a day or two during the noisiest part of the installation.